
How to update online presence photos: a 2026 guide
- Jeff Borchert

- Jun 25
- 8 min read

TL;DR:
Updating your profile photos every two to three years or after significant appearance changes helps maintain trust and consistency. A professional, well-composed headshot should accurately reflect your current look and align with your industry and branding updates.
Your profile photo is defined as the first visual impression you make on every recruiter, client, and colleague who finds you online. Knowing how to update online presence photos correctly determines whether that impression builds trust or quietly undermines it. Research confirms that viewers form snap judgments in 100 milliseconds, which means your photo is doing serious work before anyone reads a single word of your bio. For professionals, job seekers, and business owners in Calgary and across Canada, a current, well-composed photo on LinkedIn, your company website, and social media is one of the most cost-effective branding decisions you can make.
How to update online presence photos: when is the right time?
The clearest rule is straightforward: update every 2–3 years at minimum, or immediately after any significant change to your appearance. That interval exists because digital connections often meet you in person after seeing your photo first. When the two versions of you do not match, trust erodes before you say hello.
Career transitions are another firm trigger. A promotion, a shift to a new industry, or launching your own business all signal a change in how you want to be perceived. Your photo should reflect the role you are stepping into, not the one you left behind. The same logic applies to business rebrands: if your company has updated its visual identity, your headshot should align with that new direction.
Signs it is time for a new photo:
Your current photo is more than 2–3 years old
You have changed your hair colour, length, or style significantly
You have started or stopped wearing glasses
You have experienced noticeable weight changes
You have received a promotion or changed industries
Your business has rebranded its look and feel
Your photo was taken with a phone in poor lighting
Colleagues or clients do not recognise you at first meetings
Pro Tip: Check your signs you need new headshots against this list once a year. Set a calendar reminder every january to do a quick audit of every platform where your face appears.
Outdated photos create a specific kind of friction that most professionals do not notice until it is too late. A client who has seen a photo of you from eight years ago arrives at a meeting looking for someone who no longer exists. That moment of confusion, however brief, plants a seed of doubt. Keeping your photos current removes that friction entirely.
How do you choose the right photo for each platform?
Photo composition is the foundation of a strong profile image. Eyes should sit in the top third of the frame, with your face filling roughly 60% of the image. This framing works across circular and square crop formats, which most platforms apply automatically. A direct gaze, a smile that shows teeth, and a subtle squint (what photographers call the “squinch”) all increase perceived likability and confidence, according to psychology research on profile photos.
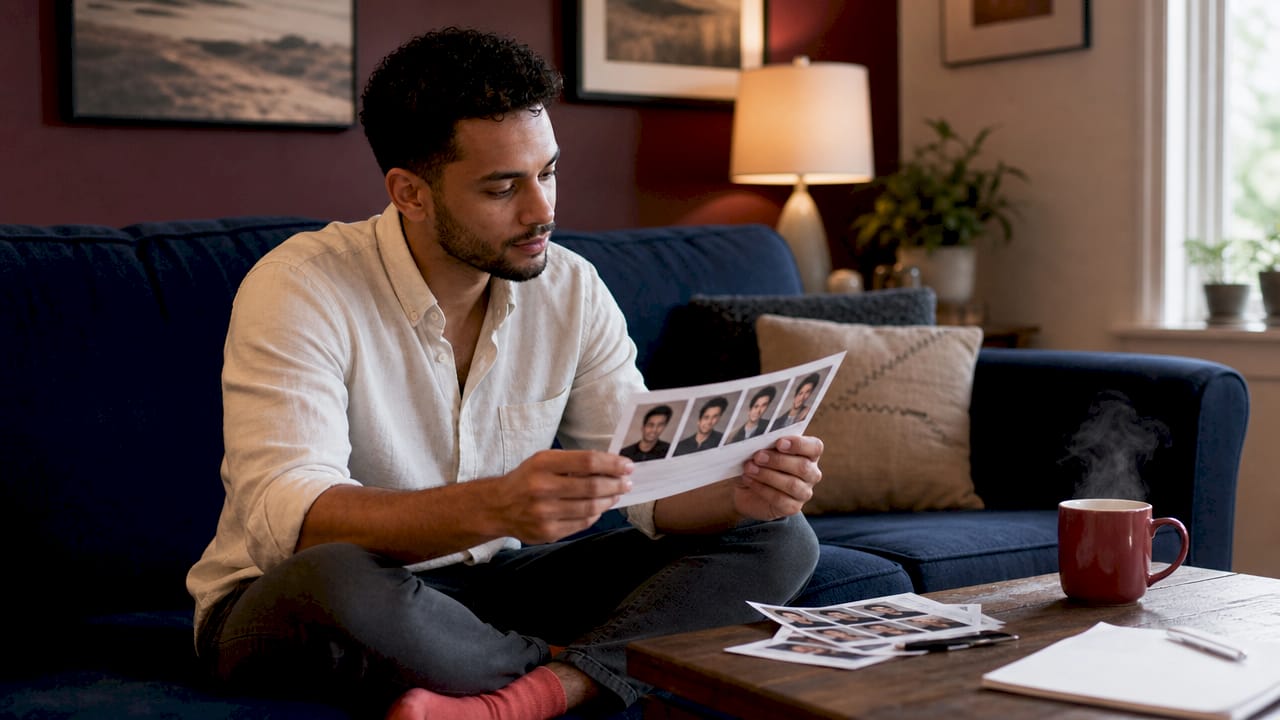
Background and attire matter more than most people expect. A confident, relaxed posture paired with soft, natural lighting and a simple, neutral background produces a photo that reads as professional without feeling stiff. Busy backgrounds pull attention away from your face. Clothing should reflect the industry you work in: a Calgary energy sector executive and a creative director at a design studio will make different choices, and both can be right.
Platform dimensions vary, and uploading the wrong size degrades quality. Use a resizing tool like Pixellize Profile Photo Maker to export the correct dimensions for each platform before uploading.
Platform | Recommended size | Notes |
400 x 400 px (min) | Square upload; circular display | |
X (Twitter) | 400 x 400 px | Circular crop applied |
110 x 110 px (display) | Upload at higher resolution | |
170 x 170 px (desktop) | Square upload recommended | |
Website / bio | 1024 x 1024 px | Highest resolution for flexibility |
Pro Tip: Skip platform filters entirely when uploading. Built-in filters add colour casts and reduce sharpness. Upload a clean, well-lit original and let the platform display it as-is.
One editing mistake stands out above the rest: over-processing. Heavy skin smoothing, artificial colour grading, and dramatic retouching make photos look polished in isolation but erode trust when viewers sense the image does not reflect a real person. Subtle adjustments to brightness and contrast are fine. Anything that makes you look like a different person is not.
What is the best process for maintaining your photo library?
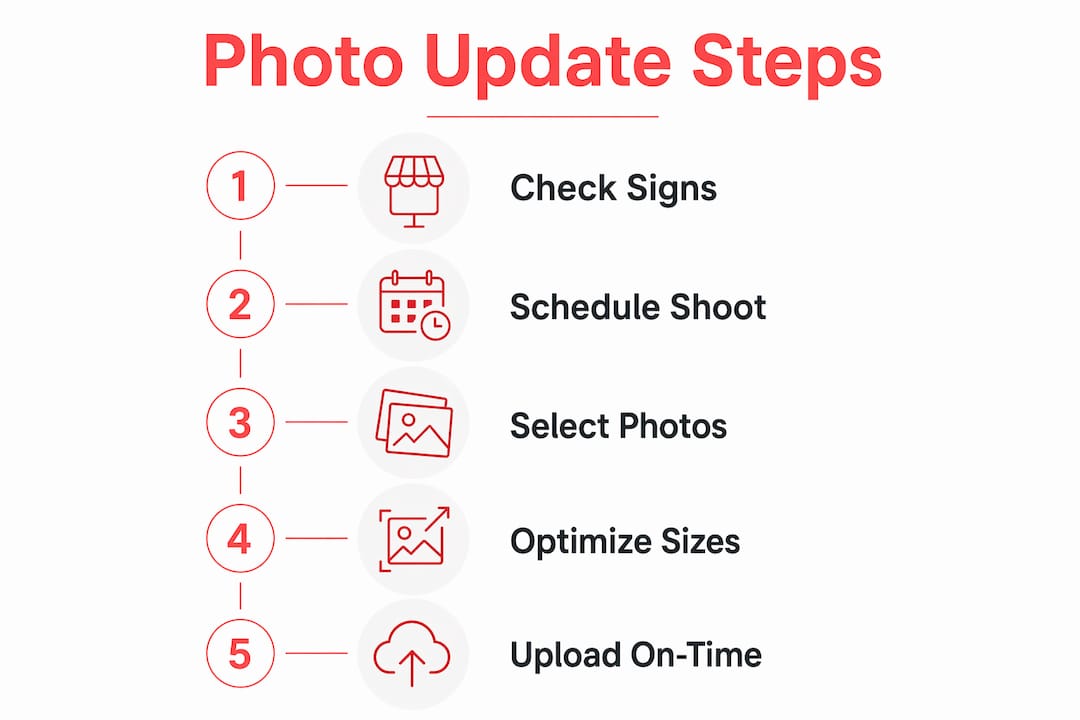
Refreshing digital images once is not enough. The real work is building a system that keeps every platform consistent without requiring a scramble every time something changes. The most reliable approach is a cloud-based master folder that holds your highest-resolution originals alongside pre-cropped versions for each platform.
Follow this numbered process to stay organised:
Book your session and select your best shots. Choose two or three final images: one formal, one approachable, one that works for casual platforms like Instagram.
Create a master asset folder. Store originals at full resolution (ideally 1024 x 1024 pixels or larger) in a cloud service like Google Drive or Dropbox. Label files clearly by date and platform.
Export platform-specific crops. Use a tool like Pixellize Profile Photo Maker to produce correctly sized files for LinkedIn, your website, X, Instagram, and Facebook.
Build a simple tracking spreadsheet. Record the platform name, the file used, the upload date, and the next scheduled review date. Two columns and five rows is all you need.
Update all platforms in one session. Simultaneous updates across LinkedIn, your website, email signature, and directories reinforce brand consistency and prevent the confusion that comes from showing different versions of yourself in different places.
Preview circular crops before publishing. Most platforms apply a circular mask. Confirm your eyes and face are centred and not clipped before you save.
Test on multiple devices. Check how your photo looks on a desktop browser, a mobile feed, and a messaging thumbnail. What looks great at full size can lose detail at thumbnail scale.
Pro Tip: Treat your photo library the same way you treat your résumé. Both need a scheduled review, not just an emergency update when something goes wrong. A professional photo management checklist makes this a five-minute task instead of a half-day project.
The most common mistake professionals make is reusing an old photo on a new platform because it is “good enough.” Inconsistent images across platforms create a fragmented impression. A recruiter who sees one version of you on LinkedIn and a different version on your company website will notice, even if they cannot articulate why.
What are the most common photo update mistakes to avoid?
Cropping errors are the most frequent technical problem when optimising profile images. Platforms like LinkedIn and X apply circular masks automatically, and if your eyes sit too low in the frame, the top of your head gets clipped. Upload square-format photos with eyes positioned in the top third to prevent this.
Troubleshooting checklist for common upload issues:
Blurry or pixelated result: Upload at a minimum of 500 x 500 pixels, ideally 1024 x 1024 pixels with a file size under 1MB. Platforms compress images on upload, so starting at a higher resolution preserves quality.
Face clipped in circular crop: Reframe the original so your eyes sit in the top third and your face fills 60% of the frame before exporting.
Colour looks off after upload: You likely used a platform filter or uploaded a file with an embedded colour profile the platform does not support. Export as a standard JPEG with the sRGB colour profile.
Photo looks fine on desktop but poor on mobile: Test your photo on multiple device sizes and in the messaging thumbnail view. Adjust crop if fine details are lost at small sizes.
Inconsistent lighting across platforms: This usually means different photos are in use. Audit every platform and replace with the same image set from your master folder.
File rejected due to size: Keep JPEG files under 1MB. Use a free compression tool like Squoosh to reduce file size without visible quality loss.
Lighting inconsistency is a subtler problem. A photo taken in warm indoor light looks noticeably different from one shot in cool daylight. When these appear side by side across your profiles, they signal a lack of attention to detail. A single professional session with consistent lighting solves this permanently. For a deeper look at how photography shapes your online reputation, the connection between image quality and perceived credibility is well documented.
Key takeaways
Updating your online presence photos every 2–3 years, or after any significant appearance or career change, is the single most effective way to maintain trust and consistency across your professional digital footprint.
Point | Details |
Update on a schedule | Refresh profile photos every 2–3 years or immediately after appearance or career changes. |
Nail the composition | Keep eyes in the top third and face filling 60% of the frame for clean circular crops. |
Match platform specs | Export correctly sized files for each platform; never upload one-size-fits-all images. |
Build a master folder | Store high-resolution originals and pre-cropped versions in a cloud folder with update logs. |
Update all platforms at once | Simultaneous updates across LinkedIn, websites, and directories prevent a fragmented brand. |
What I have learned from watching Calgary professionals update their photos
I have photographed a lot of Calgary business owners, and the pattern I see most often is this: people wait too long, then update in a rush when something forces their hand. A new job. A speaking engagement. A website redesign. The photo gets done, it looks great, and then it sits untouched for five or six years while the person changes considerably.
The professionals who show up most confidently online are the ones who treat their headshot as a living part of their brand, not a one-time task. I worked with a Calgary entrepreneur last year who had been using a photo from her early days as a junior associate. She had since launched her own firm, changed her style, and built a reputation as a leader in her field. Her photo told none of that story. After her session, she updated LinkedIn, her website, her email signature, and her speaker bio in a single afternoon. Within a week, she told me that two people had commented that she looked “more like herself” online.
That is the real goal. Not perfection. Not a photo that looks like a magazine cover. A photo that looks like you, right now, doing the work you are proud of. The best headshots are the ones that make people feel like they already know you before the first conversation.
My honest recommendation: do not wait for a trigger. Schedule a session, build your asset folder, and update everything at once. Then set a reminder to do it again in two years. That small habit does more for your professional credibility than almost anything else you can do online.
— Jeff
Ready to refresh your professional photos in Calgary?
If your current headshot no longer reflects who you are or what you do, a professional session is the most direct fix.
[
Itsjeffb offers Calgary headshot sessions designed to be straightforward and low-pressure, whether you are updating a single LinkedIn photo or refreshing images for your entire team. Sessions are built around clean, natural results that work across LinkedIn, your website, email signatures, and speaker bios. For teams, Itsjeffb provides on-location corporate headshots with consistent results across every person in the group. View session options and pricing to find the right fit for your goals.
FAQ
How often should I update my profile photo?
Update your profile photo every 2–3 years at minimum, or immediately after any significant change to your appearance, career, or business brand.
What is the best photo size for LinkedIn?
LinkedIn recommends a square image between 400 x 400 and 7,680 x 4,320 pixels. Uploading at 1024 x 1024 pixels with a file size under 1MB delivers the best balance of quality and load speed.
Should I use the same photo on every platform?
Yes. Using the same core image across LinkedIn, your website, email signature, and directories reinforces recognition and prevents a fragmented personal brand. Export platform-specific crops from one high-resolution original.
Can I use a phone photo for my LinkedIn profile?
A phone photo can work if the lighting is natural and even, the background is simple, and the resolution is high enough. A professional headshot session removes the guesswork and produces results that hold up at every size and on every device.
Why does my photo look different after uploading?
Platform compression and automatic colour adjustments are the most common causes. Upload a JPEG in the sRGB colour profile at the recommended resolution, and skip built-in platform filters to preserve the original quality.
Recommended


Comments