
What is group photography: techniques and tips
- Jeff Borchert
- 5 hours ago
- 9 min read
TL;DR:
Group photography requires technical precision, confident direction, and strategic environment choices to produce cohesive, professional images. Proper camera settings, effective posing, and organized management are essential to capturing connected and visually appealing group photos.
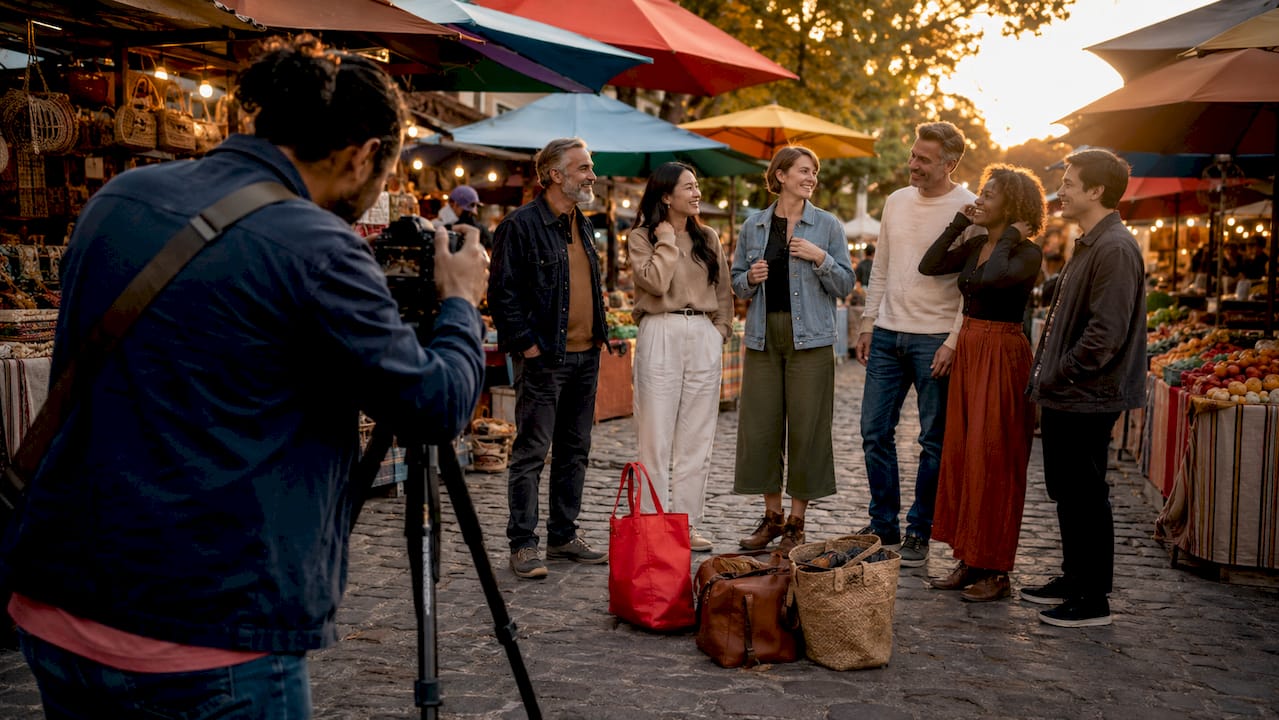
Group photography is defined as the art of capturing multiple people in a single, composed image where everyone is visible, in focus, and naturally connected. Whether you’re photographing a corporate team in Calgary, a wedding party, or a family reunion, the discipline draws on technical precision, interpersonal skill, and creative vision in equal measure. The challenges are real: keeping everyone sharp, managing expressions, and arranging bodies so the image feels cohesive rather than chaotic. This guide covers the camera settings, posing strategies, group management tactics, and environment choices that separate a forgettable snapshot from a photo people are proud to display.
What is group photography and why does it matter?
Group photography is the practice of arranging and photographing multiple people to produce a single image that communicates unity, identity, or shared experience. The industry term most professionals use is group portraiture, though “group photography” covers the full spectrum from casual event shots to polished corporate team photos.
The stakes are higher than most people realise. A well-executed group photo communicates professionalism, culture, and connection at a glance. For businesses, it shows up on websites, LinkedIn pages, and marketing materials. For families and social groups, it becomes the image that gets framed and passed down. Getting it right requires more than pointing a camera at a crowd and pressing the shutter.
Three core challenges define every group shoot: achieving consistent focus across multiple faces, managing the natural chaos of human expressions and blinking, and arranging people so the composition feels intentional. Nail those three, and you have a photo worth keeping.
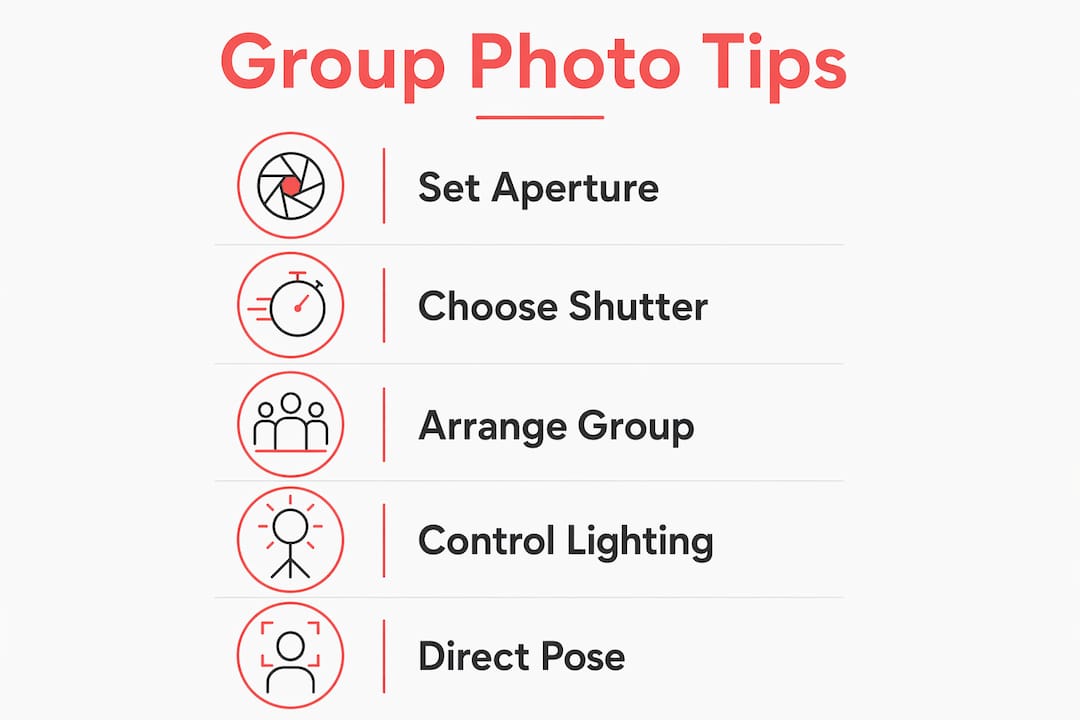
What camera settings and equipment work best for group photos?
Technical errors are the fastest way to ruin a group photo, and the most common one is shooting with too wide an aperture. Shooting at f/2.8 causes many subjects to fall out of focus, which is the number one technical mistake in group photography. When only the front row is sharp and the back row is a blur, no amount of posing or personality saves the image.
Aperture: the most critical setting
For small groups of 3–6 people, aperture between f/5.6 and f/8 keeps everyone sharp without requiring an extremely high ISO. For larger groups arranged in multiple rows, f/8 to f/11 gives you the depth of field you need. The trade-off is that smaller apertures require more light, so your lighting setup matters just as much as your f-stop.
Shutter speed and lens choice
Use a minimum shutter speed of 1/125 second to freeze the subtle movements that happen constantly in a group: breathing, shifting weight, blinking. If children or pets are involved, push to 1/200 second or faster. For lens selection, a 24–35mm focal length works well for large groups because it captures a wide field of view without the distortion you get from going ultra-wide. A 50mm or 85mm is better suited to smaller groups of 4–6 people where you want a more flattering compression.

Pro Tip: Use burst mode and fire 5–8 frames per pose. Compositing the best expressions from multiple frames is a professional technique that guarantees no one is blinking or looking away in the final image.
For indoor shoots, bounce flash (pointing your speedlight at the ceiling) creates soft, even light that works at the smaller apertures group photography demands. Bounce flash techniques avoid the harsh shadows that direct flash creates and produce a much more natural result.
How to pose and arrange groups for natural, flattering photos
Posing is where group photography either comes alive or falls flat. A group of ten people standing in a single flat row looks like a police lineup. The goal is to create depth, visual interest, and a sense of genuine connection.
Here is a practical sequence for arranging any group:
Build your tiers first. A 3-row system of seated, standing, and elevated positions is the standard for large groups. Use chairs, stairs, benches, or natural terrain to create height graduation. This ensures every face is visible without anyone being hidden behind a shoulder.
Apply the shoulder rule. Every person’s shoulders should be visible in the frame. If you can see someone’s shoulders, their face is almost certainly visible too. Use this as your quick check before shooting.
Angle bodies inward. Ask everyone to angle their body 20–30 degrees towards the centre of the group. This creates a subtle sense of cohesion and makes the group look bonded rather than randomly assembled.
Close the gaps. Natural spacing between people looks disconnected in photos because the camera exaggerates distance. Instruct the group to squeeze in tighter than feels comfortable. What feels crowded in person reads as warm and connected in the final image.
Encourage physical connection. Ask people to link arms, touch shoulders, or lean slightly towards each other. Physical connection among group members conveys emotional cohesion and makes the photo feel intentional.
Use a triangular or diamond composition. Place your tallest or most prominent person at the peak and arrange others to create a visual triangle. This guides the viewer’s eye naturally through the frame.
Pro Tip: Before you shoot, ask everyone to take one small step towards the person next to them. It sounds minor, but it closes gaps, creates warmth, and transforms the energy of the whole image.
For corporate photoshoot planning, these posing principles apply directly to team photos. The same techniques that make a family portrait feel warm also make a company team photo feel cohesive and professional.
What organisational strategies make a group shoot run smoothly?
The best camera in the world cannot compensate for a disorganised shoot. Group photography success depends more on effective group management and confident direction than on camera technicalities alone. This is the insight that separates photographers who consistently deliver great results from those who get lucky occasionally.
Here are the strategies that actually work in the field:
Scout the location beforehand. Scouting for even lighting, clean backgrounds, and enough space before the group arrives saves enormous time and prevents scrambling. Know exactly where you want people to stand before anyone shows up.
Use a loud, confident voice or a wireless mic. For groups of 20 or more, a wireless microphone is not a luxury. It is the difference between a smooth shoot and 15 minutes of people not hearing your instructions.
Use humour and countdowns. A genuine laugh produces better expressions than a forced smile. Tell a quick joke, use a funny countdown (“On three, everyone say ‘our boss owes us lunch’”), and watch the energy shift immediately.
Use the blink trick. Ask everyone to close their eyes, then open them on your count. The blink trick and clear vocal commands synchronise the group and dramatically reduce the number of frames with someone’s eyes closed.
Assign an assistant for large groups. For groups of 15 or more, having a second person to physically guide people into position while you stay behind the camera is a significant advantage.
Schedule photos at the right time. For events, photograph groups before the open bar and before people have been standing for three hours. Energy and appearance are both noticeably better at the start of an event.
For more on managing professional shoots, the business photography tips guide covers lighting, scheduling, and directing subjects in corporate settings.
How does environment choice affect group photo quality?
The background and setting of a group photo carry more visual weight than most people expect. A great group photo has a concept or shared energy beyond just standing and smiling, and the environment is a big part of delivering that. A great group photo needs a concept or thematic thread that ties the image together.
Here is a comparison of common environment choices and their trade-offs:
Environment | Strengths | Watch out for |
Open shade outdoors | Soft, even light; no squinting | Wind, background clutter |
Overcast day outdoors | Ideal diffused light for groups | Flat colour tones |
Indoor with bounce flash | Controlled light; consistent results | Low ceilings limit bounce |
Branded office interior | Reinforces company identity | Busy backgrounds, mixed lighting |
Natural terrain (stairs, hills) | Built-in height graduation | Uneven footing, distractions |
Use open shade outdoors to avoid harsh sunlight that causes squinting and uneven shadows across faces. Overcast days are genuinely ideal for group photography because the cloud cover acts as a giant natural softbox.
For backgrounds, step at least 10 feet from the background to add visual separation and avoid the classic mistake of poles or trees appearing to “grow” from people’s heads. Simple and uncluttered always wins. For branding purposes, matching attire or a consistent colour palette ties the group together visually and reinforces identity in a way that no amount of posing can replicate.
For creative team headshot ideas that go beyond the standard row-and-smile format, location choice and thematic cohesion are the two levers that make the biggest difference.
Key takeaways
Effective group photography combines the right aperture, deliberate posing, confident group direction, and a clean environment to produce images that feel connected and professional.
Point | Details |
Aperture is non-negotiable | Use f/5.6–f/8 for small groups and f/8–f/11 for larger groups to keep all faces sharp. |
Posing creates cohesion | Angle bodies inward, close gaps, and encourage physical connection to make the group feel bonded. |
Direction matters most | Confident vocal commands, countdowns, and the blink trick produce better results than any camera setting. |
Environment sets the tone | Open shade, simple backgrounds, and colour coordination elevate a group photo from record to story. |
Burst mode saves the shot | Shooting multiple frames and compositing the best expressions prevents blinks and missed moments. |
What I have learned from years of directing groups
Here is the honest truth about group photography: the technical side is the easy part. You can learn aperture settings in an afternoon. What takes real time to develop is the ability to walk into a room of 30 people who would rather be doing anything else and get them genuinely engaged in 10 minutes.
The biggest mistake I see is photographers who are timid about giving direction. People actually want to be told where to stand and what to do. Uncertainty makes everyone uncomfortable. Confidence makes everyone relax. When I walk into a corporate team shoot, I already know the layout, the lighting, and the order of shots before a single person arrives. That preparation shows, and the group feels it.
The other thing I have learned is that small physical connections change everything. Asking two colleagues to link arms feels awkward for about three seconds, and then everyone laughs, and that laugh becomes the best frame of the day. The people photoshoot guide I put together covers this in more detail, but the short version is: get people touching, get them laughing, and shoot fast while the energy is up.
Group photography is genuinely one of the most rewarding things I do. There is something special about delivering an image that a whole team or family looks at and says, “That is exactly us.” That does not happen by accident. It happens because someone prepared, directed, and cared enough to get it right.
— Jeff
Ready to book a professional group shoot in Calgary?
If you are planning a team photo, a corporate event, or a branding session for your organisation, Itsjeffb brings the same preparation and direction to every shoot. The result is a set of images your team is genuinely proud to use on your website, LinkedIn, and marketing materials.
[
Itsjeffb specialises in on-location team headshots in Calgary with consistent, professional results across entire groups. Whether you need 5 headshots or 50, the process is efficient, guided, and built around getting you images that actually get used. Check out the photography packages and pricing to find the right fit for your team or event. Let’s make sure your group is documented with the care it deserves.
FAQ
What is the best aperture for group photography?
Use f/5.6–f/8 for small groups and f/8–f/11 for larger groups arranged in multiple rows. Shooting wide open at f/2.8 is the most common technical mistake and causes many faces to fall out of focus.
How do you pose a large group for photos?
Use a 3-tier system of seated, standing, and elevated rows to ensure every face is visible. Angle bodies 20–30 degrees towards the centre, close gaps between people, and encourage physical connection like linked arms for a cohesive result.
How do you avoid blinks in group photos?
Use burst mode to capture multiple frames per pose, then composite the best expressions in editing. The blink trick, asking everyone to close their eyes and open them on your count, also dramatically reduces closed-eye frames.
What makes a good group photo composition?
A strong group photo uses a triangular or diamond arrangement, a simple uncluttered background, and consistent lighting across all faces. Physical connection and closed gaps between subjects make the composition feel intentional rather than assembled.
What lighting works best for outdoor group photos?
Open shade is the best outdoor option because it provides soft, even light without harsh shadows or squinting. Overcast days are ideal because cloud cover diffuses sunlight naturally across the entire group.
Recommended
Comments