
Step-by-step event photography guide for impactful shots
- Jeff Borchert
- Apr 27
- 10 min read
TL;DR:
Proper planning, including client consultations, shot lists, and venue scouting, ensures effective event photography.
Using appropriate gear, camera settings, and a structured workflow helps capture authentic and impactful moments.
Post-event culling, editing, and timely delivery are crucial for creating polished, memorable corporate event galleries.
You’ve poured weeks into planning a Calgary corporate event. The venue is perfect, the speakers are lined up, and the energy in the room is electric. Then the photos come back flat, blurry, or missing the moments that actually mattered. It’s a painful letdown, and it happens more often than it should. The good news? Great event photography isn’t a matter of luck. It’s a matter of process. Whether you’re an organiser working with a photographer for the first time or a professional looking to sharpen your workflow, this step-by-step guide gives you the practical tools to make every shot count.
Table of Contents
Key Takeaways
Point | Details |
Plan and scout | Effective event photography starts with client consultation, tailored shot lists, and venue scouting in advance. |
Master camera settings | Choose gear and camera settings based on venue lighting and event type to ensure crisp, vibrant images. |
Balance candids and posed | Applying the 70/30 rule of candids to posed shots captures authentic stories and branding needs. |
Prepare for challenges | Anticipate low-light, fast action, and venue-specific hurdles by adjusting your settings and gear in advance. |
Fast, polished delivery | A streamlined workflow for culling and editing delivers impressive sneak peeks and final galleries on tight timelines. |
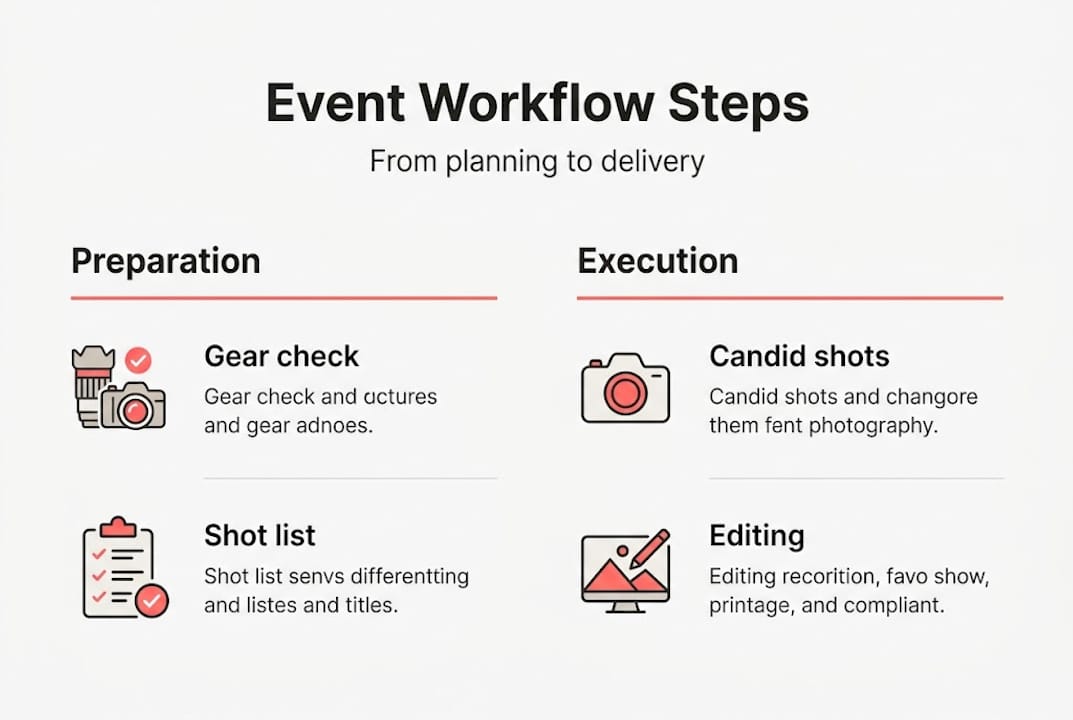
First steps: Planning and preparation for event photography
Strong event photography starts long before you pick up a camera. The difference between a gallery that tells a compelling story and one that just documents a room full of chairs is almost always decided in the planning phase. Let’s walk through exactly what to do before the event begins.
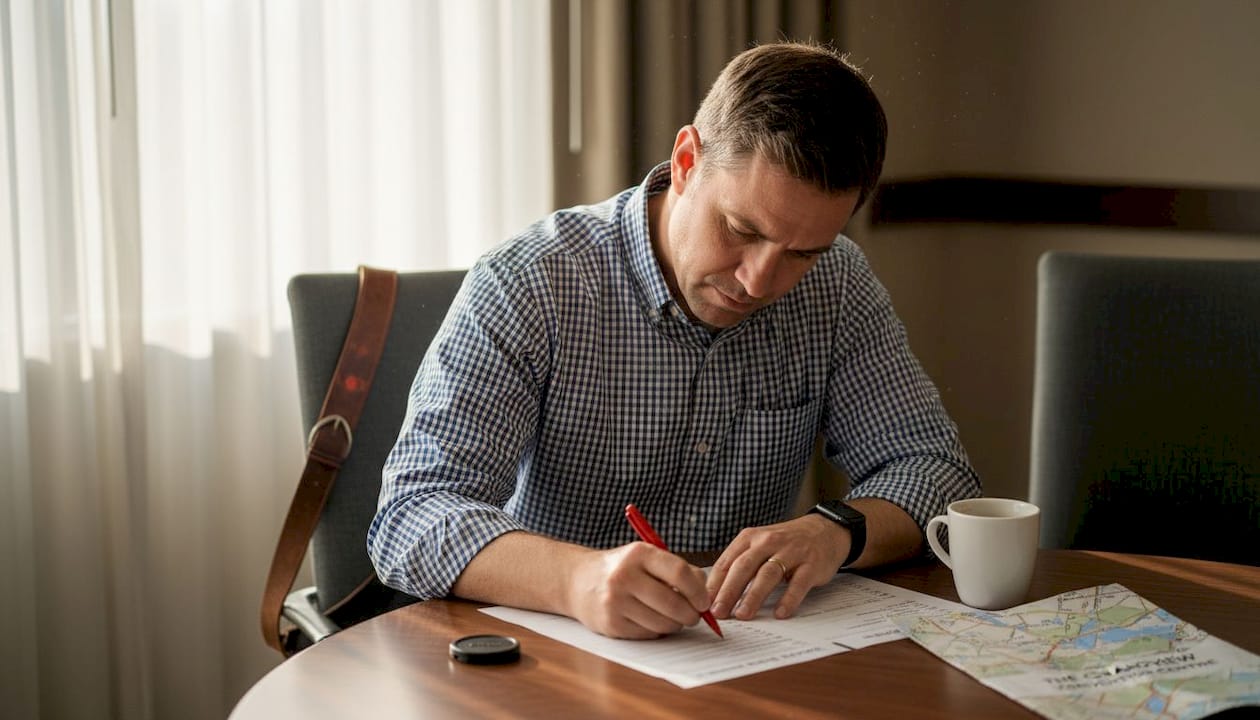
Start with a client consultation. Sit down with your client or stakeholder and ask the right questions. What moments are non-negotiable? Are there VIPs, sponsors, or branded elements that must be captured? What will the images be used for: social media, a website, a press release? Understanding the intended use shapes every creative decision you make on the day. Preparation involves client consultation on expectations, shot lists, gear checklists, and venue scouting 30 to 60 minutes early.
Build a targeted shot list. A shot list is your anchor when the event gets busy and unpredictable. Think in categories:
Crowd shots showing energy and attendance
Speaker moments at the podium or on stage
VIP and executive interactions
Branded details: signage, centrepieces, product displays
Candid networking moments
Award presentations or milestone recognitions
Keep it focused. A tight list of 15 to 20 priority shots beats a vague mandate to “capture everything.”
Scout the venue ahead of time. Visit the space before the event if you can. Note where the natural light falls, where you’ll be positioned during key presentations, and where power outlets are for charging. Understanding the layout helps you anticipate movement and avoid scrambling during the event itself. The event photography impact of early preparation simply cannot be overstated.
Gear checklist for event day:
Item | Purpose |
Two camera bodies | Redundancy and quick lens switching |
24-70mm f/2.8 zoom | Versatile wide-to-medium coverage |
70-200mm f/2.8 telephoto | Stage and VIP shots from a distance |
50mm f/1.8 prime | Low-light and detail work |
Speedlight with diffuser | Bounce flash for soft, even lighting |
Extra batteries and cards | Never lose a shot to a dead battery |
Pro Tip: Always pack at least one extra battery per body and two spare memory cards. Gear failures are rare, but they happen at the worst possible moments. A backup for every critical component is the mark of a professional.
Optimal camera settings and gear: Nailing technical execution
Once you have your checklist in place, the next step is configuring your gear for the event’s unique challenges. Calgary’s corporate events range from bright hotel ballrooms to dimly lit conference centres and everything in between. Your settings need to adapt.
For most indoor corporate events, camera settings for indoor events follow this baseline: Aperture f/2.8 to f/4, shutter speed 1/125 to 1/250s, ISO 800 to 6400, Auto White Balance, and always shoot RAW. Shooting RAW gives you far more flexibility in post-production, especially when venue lighting shifts unexpectedly.
Gear essentials to have ready:
Two camera bodies with a wide zoom (24-70mm f/2.8) and a telephoto (70-200mm f/2.8), paired with a fast 50mm f/1.8 prime and a speedlight with a diffuser for bounce flash
A lightweight camera bag or harness so you’re mobile and not tethered to a table
Lens cloths for quick smudge removal between shots
Quick comparison of lens choices:
Lens | Best for | Trade-off |
24-70mm f/2.8 | General coverage, panels, crowd | Heavier, lower light at f/4 end |
70-200mm f/2.8 | Stage speakers, VIPs, distant shots | Bulky in tight spaces |
50mm f/1.8 | Low-light detail, candids | Fixed focal length requires you to move |
35mm f/1.8 | Environmental portraits, networking | Less reach for stage moments |
One underrated challenge at Calgary events specifically is mixed lighting: warm tungsten from chandeliers fighting cool LED stage lights. Auto White Balance handles this reasonably well in RAW files, but bracketing a few test shots during the setup window is even better. You want skin tones that look natural and inviting, not green or orange. Review the 2026 event photo tips for more guidance on managing challenging venue lighting situations.
Pro Tip: Never rely on a single camera body during a paid event. Even if your second body is a backup model, having it ready with a prime lens attached means you’re covered if the main body freezes, overheats, or takes an accidental knock.
Capturing moments: Step-by-step shooting workflow
With equipment ready, move through the actual event with a clear, repeatable workflow. Improvising every shot is exhausting and inconsistent. Structure gives you the freedom to be creative within a reliable framework.
Step-by-step shooting sequence:
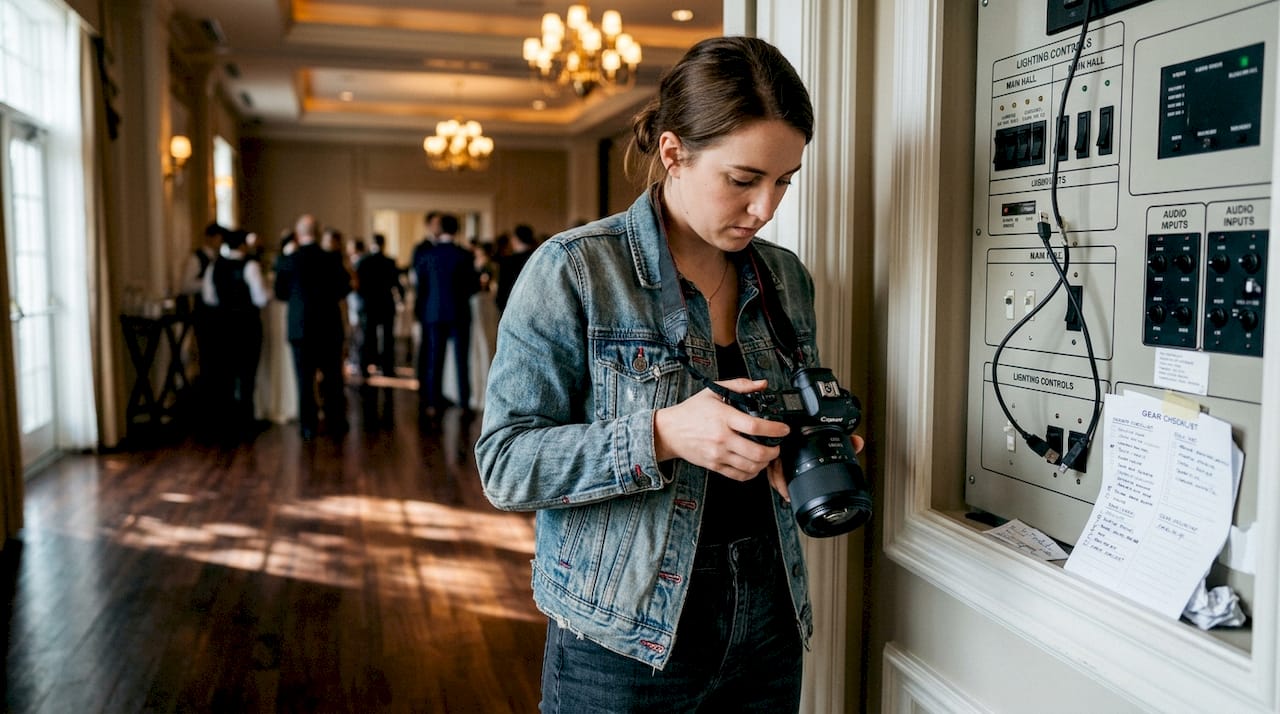
Arrive 30 to 60 minutes early. Set up, test your settings under the venue’s actual lighting, and confirm your shot list.
Capture establishing shots first. Wide shots of the venue, decor, and arriving guests set the scene for the full story.
Cover the opening moments. Welcome speeches, first reactions, and room energy at the start are often the most animated.
Work through your shot list methodically. Tick off priority shots as they happen, but stay alert for unplanned moments.
Stay mobile. Move between the audience, the side of the stage, and networking spaces to capture different angles.
End with closing and farewell moments. Handshakes, group photos, and final branded shots round out the story.
The stunning event photos that stand out in any gallery are almost always the ones that balance authenticity with intention.
“The most memorable event images aren’t the posed ones — they’re the in-between moments. A laugh during a handshake, a speaker mid-gesture, an attendee leaning forward in genuine interest. These are the frames that make people feel something.”
The 70/30 rule is your guide here: aim for 70% candid images capturing gestures, transitions, and real reactions from a respectful distance, and 30% posed or directed shots of groups, VIPs, and branded moments. This ratio creates a gallery that feels alive and purposeful, not like a collection of stiff portraits.
Practise staying invisible during candid moments. The longer you linger near a conversation without raising the camera, the more natural people become. A longer focal length lets you capture genuine expressions from across the room without interrupting the flow. A thorough event coverage workflow takes this invisibility seriously at every stage.
Candid moments to actively watch for:
Spontaneous laughter or surprise reactions
A speaker’s expressive hand gesture at peak momentum
Audience members nodding, taking notes, or connecting with each other
Quiet moments between two people before the room fills up
Troubleshooting challenging scenarios
No event goes exactly as planned. Here’s how to confidently handle those unpredictable moments that every Calgary event photographer eventually faces.
Low light is the most common challenge. Dance floors, dimly lit reception areas, and candlelit dinners all demand a different approach than a brightly lit conference room. For low-light dance floors, switch to a fast prime at f/1.4, use a drag shutter set to around 1/30s with flash for dynamic movement, and raise ISO as needed. For high-ceiling venues where bounce flash won’t reach, attach a modifier directly to the speedlight and aim it slightly forward. For no-flash performances, rely entirely on a high ISO (3200 to 6400) and a fast shutter speed.
Common challenging scenarios and quick fixes:
Low-light reception area: f/1.8 prime, ISO 3200, bounce flash off nearest wall or ceiling
Fast-moving presenter on stage: Increase shutter speed to at least 1/250s to freeze motion
Backlit speakers (window or screen behind them): Expose for the face, add a touch of fill flash
Mixed venue lighting (tungsten plus LED): Shoot RAW, correct white balance in post
Crowded networking area: Use a wider lens (24mm or 35mm) to include context and depth
Anticipating problems is genuinely half the battle. If you know the venue has high ceilings going in, you arrive with a modifier already attached. If you know there’s a no-flash performance segment, you’ve pre-set a custom ISO profile. Preparation and troubleshooting aren’t separate phases. They overlap.
Pro Tip: For dynamic dance floor or performance shots, try the drag shutter technique: set a slow shutter (around 1/30s) with a rear-curtain sync flash. The ambient light creates motion blur on the background while the flash freezes your subject in a sharp, vibrant frame. It looks intentional and energetic rather than simply underexposed.
Review specific event challenges guide resources to go deeper on scenario-specific solutions for Calgary venues.
Post-event workflow: Culling, editing, and fast delivery
Capturing the moments is just one part; creating polished, timely galleries cements your reputation. A disorganised post-event process can undermine even the best shooting day.
Efficient post-production in numbered steps:
Back up immediately. Copy cards to two separate drives as soon as you’re home. Before anything else.
Cull ruthlessly. For corporate events, cull to a 25 to 40% keep rate, which means 100 to 250 final images from 300 to 800 total shots.
Batch edit for consistency. Apply a base exposure, colour grading, and sharpening preset across similar lighting conditions before fine-tuning individual frames.
Make selects for a sneak peek. Pull 5 to 10 of your strongest images and deliver them within 24 to 48 hours. Clients love it, and it keeps the excitement alive.
Deliver the full gallery. Aim for 3 to 7 days for a full polished delivery for corporate clients.
Recommended delivery timelines:
Deliverable | Timeline | Notes |
Sneak peek highlights | 24 to 48 hours | 5 to 10 best images, lightly edited |
Full gallery | 3 to 7 days | All selects, fully edited and consistent |
Print-ready files | On request | High-resolution exports at 300 DPI |
Social media crops | Included or add-on | Cropped and sized for LinkedIn, Instagram |
Batch editing is where efficiency really pays off. If 60% of your images were shot under similar venue lighting, a single preset applied to that group saves enormous time without sacrificing quality. Adjust only the outliers individually. For corporate photo delivery, consistency across the gallery is often more important than perfection in any single image.
Pro Tip: Send your sneak peek within 24 hours with a short, warm note. Something like, “Here are a few early favourites from last night!” keeps the client excited and reassured while you finish the full edit. It’s a small gesture that makes a lasting impression.
Our perspective: Beyond the steps — creating truly memorable Calgary events
Here’s something I’ve learned after covering dozens of Calgary corporate events: the checklist gets you in the room, but it doesn’t make the photos remarkable. Remarkable comes from reading the room.
The most impactful galleries I’ve ever delivered weren’t the ones where everything went perfectly. They were the ones where I stayed curious, kept my camera ready during the “in-between” minutes, and trusted my instincts when something felt worth documenting. A formulaic approach to top Calgary event photographers will always produce competent results. But the memorable work comes from balancing that reliability with genuine creative responsiveness.
Calgary’s business community is vibrant and deeply relational. The energy in a room full of entrepreneurs celebrating a milestone is different from a polished AGM, and your photography should reflect that. I’ve found that the best preparation actually frees you to improvise beautifully. When you’re not worried about whether you have the right settings or shot the required list items, you can give your full attention to the story unfolding in front of you. That’s where the magic lives.
Upgrade your next Calgary event with expert photography
If you’ve made it through this guide, you already know that great event photography is equal parts preparation, technical skill, and genuine presence. That’s a lot to manage when you’re also running the event itself!
[
Working with a professional means you don’t have to choose between hosting and documenting. At Jeff B Photography, we specialise in Calgary event photography that captures real moments, key people, and the branded details that make your organisation shine. Whether you need full event coverage or a set of polished Calgary headshot photography for your team on the same day, we make the process easy and the results something you’ll actually use. Let’s make your next Calgary event one worth remembering.
Frequently asked questions
What is the ideal camera setup for indoor corporate events?
Use two camera bodies paired with a 24-70mm f/2.8 and a 70-200mm f/2.8 lens, supplemented by a 50mm f/1.8 prime and a speedlight with a diffuser for flexible, flattering bounce flash. This combination covers wide scene-setting shots through to tight telephoto details without missing a beat.
How do I handle low light on the dance floor?
Switch to a fast f/1.4 prime, raise your ISO to 3200 to 6400, and experiment with drag shutter at 1/30s combined with rear-curtain sync flash for sharp subjects against dynamic, motion-blurred backgrounds. This technique adds energy and polish to what would otherwise be dark, flat frames.
What percentage of photos should be candid versus posed?
Aim for a 70% candid and 30% posed split across your gallery for the most engaging storytelling balance. Candids carry the emotional authenticity, while posed shots anchor the key people and branded moments your client needs.
How many photos should I deliver to my client after a corporate event?
Plan to deliver 100 to 250 final images, representing a 25 to 40% keep rate from your total shots taken during the event. Quality over quantity always wins with corporate clients, and a tightly curated gallery is far more useful than an overwhelming archive.
Recommended
Comments