
What makes a good professional headshot in Calgary
- Jeff Borchert
- May 4
- 9 min read
TL;DR:
A professional headshot significantly enhances LinkedIn visibility, generating more profile views and messages.
Key elements include proper lighting, framing, expression, and adherence to platform-specific display rules to convey confidence and approachability.
Your LinkedIn profile photo is working for you around the clock, and the numbers tell a striking story. Profiles with professional headshots receive 14 to 21 times more views, 36 times more messages, and 9 times more connection requests than those without. For Calgary professionals navigating a competitive market across industries like energy, tech, finance, and real estate, that gap is enormous. This guide walks you through exactly what separates a standout headshot from a forgettable one, covering lighting, composition, posing, and platform-specific requirements so you can show up online with genuine confidence.
Table of Contents
Key Takeaways
Point | Details |
Headshots drive engagement | A professional headshot can massively increase your profile views and messages on LinkedIn. |
Lighting is essential | Soft, flattering lighting from the front or side creates a headshot that looks polished and approachable. |
Composition matters | Crop your headshot so your face fills most of the frame and your eyes are near the upper third for maximum impact. |
Studio expertise counts | Consistent studio lighting and posing guidance deliver results most DIY setups cannot match. |
Update regularly | Keeping your headshot current signals credibility and professionalism to recruiters and clients. |
Why your headshot matters more than you think
Let’s be honest. Most professionals treat their headshot as an afterthought. They grab a photo from a colleague’s birthday dinner, crop it tightly, and call it done. The result? An image that quietly works against them every single day.
Here’s what’s actually happening. Recruiters, potential clients, and collaborators land on your LinkedIn profile and form an impression in milliseconds. That impression is shaped almost entirely by your photo before they read a single word of your experience. A blurry, casual, or outdated image signals carelessness, even if your credentials are exceptional.
“Your headshot is not vanity. It’s a professional tool. It’s the handshake before the handshake.”
The impact of a strong headshot goes well beyond first impressions. Profiles with professional headshots generate 36 times more messages and up to 21 times more profile views. In a city like Calgary where professionals are actively building networks and chasing opportunities, that visibility difference is the difference between being found and being invisible.
Common headshot mistakes we see every day include:
Outdated photos that no longer reflect how you actually look
Casual settings like backyard barbecues or gym selfies cropped in
Poor lighting that creates unflattering shadows or washes out your features
Awkward cropping that cuts across shoulders or frames the face too small
Distracting backgrounds full of furniture, people, or clutter
If any of those sound familiar, it might be time to take a look at the signs you need new headshots before another opportunity slips by. And when you’re ready to plan your session, a detailed LinkedIn photoshoot guide can help you prepare.
The reality is simple. A professional headshot is not expensive vanity. It is one of the highest-return investments a Calgary professional can make in their personal brand.
Elements that make a professional headshot stand out
So what actually separates a great headshot from a mediocre one? It comes down to a handful of deliberate choices made before, during, and after the shutter clicks.
Lighting is the single most decisive element. Soft, flattering light from the front or side at eye level creates dimension in the face without the harsh shadows that make people look tired or intense. When lighting is done well, it feels invisible. When it’s done poorly, it’s all you notice.
Composition and framing are equally critical. Your face should fill 60 to 75% of the frame in a head-and-shoulders crop, with your eyes positioned near the upper third of the frame. The shot should be taken at eye level and centred to work with LinkedIn’s circular display format. Anything too far away shrinks your face into a tiny, unreadable image.
Facial expression and posture communicate confidence and approachability. A slight forward lean toward the camera creates engagement. Relaxed shoulders, a genuine smile (or composed neutral expression depending on your industry), and eye contact with the lens all signal that you are someone worth talking to.
Here’s a comparison that captures the difference clearly:
Element | Average headshot | Professional headshot |
Lighting | Overhead or flat, harsh shadows | Soft, directional, flattering |
Framing | Face too small or oddly cropped | Face fills 60-75% of frame |
Background | Busy, distracting, or cluttered | Clean, simple, consistent |
Expression | Stiff, unnatural, or unfocused | Relaxed, confident, genuine |
Technical quality | Blurry, grainy, low resolution | Sharp, high resolution, print-ready |

Pro Tip: When reviewing potential headshot photographers, look at the consistency of their portfolio. Not just one great shot, but many. Consistent quality across subjects and sessions is the hallmark of a photographer who controls their environment, not just their luck. See some examples of best headshots to calibrate your expectations before your session.
The right combination of these elements produces something powerful. Not just a “nice photo” but an image that actually does a job. It positions you instantly, builds trust before a conversation starts, and reflects the level of professionalism you bring to your work. Explore the difference between headshots and portraits if you’re unsure which style best fits your needs.
Lighting mastery: Getting consistency and nuance
Lighting is worth its own dedicated conversation because it changes everything. The same person, same outfit, same expression can look either remarkable or unremarkable entirely based on how the light falls.
There are two main approaches: natural light and studio strobes. Both can work. Neither is universally superior. The difference lies in control and consistency.
Natural light is viable for DIY setups, but studio strobes offer a level of consistency that is nearly impossible to replicate outdoors. A single key light paired with a reflector is the baseline professional setup, while multi-light arrangements add nuance, separate the subject from the background, and allow for more creative control.
Here’s a practical step-by-step breakdown of lighting considerations:
Choose your light source. For DIY, a large window with indirect daylight is your best friend. Avoid direct sunlight, which creates harsh shadows. For professional results, a studio strobe with a softbox produces consistent, repeatable quality.
Position the key light. Place your primary light source slightly to the side and at eye level. This creates dimension without casting harsh shadows under the eyes or nose.
Fill the shadows. Use a reflector on the opposite side to soften the shadow areas without eliminating them entirely. Too much fill flattens the face. Too little creates a dramatic, moody look that rarely suits professional contexts.
Control the background. A hair light or background light separates the subject from the backdrop and prevents the image from looking flat or murky.
Check for consistency. If you’re photographing multiple team members, consistent lighting setup means everyone looks equally polished. One of the biggest challenges in corporate team headshots is achieving that uniformity across different faces, skin tones, and features.
Lighting type | Pros | Best for |
Natural window light | Flattering, accessible, low cost | DIY, casual professional use |
Single strobe + reflector | Consistent, clean, controllable | Standard professional headshots |
Multi-light studio setup | Maximum nuance and polish | Corporate, executive, branding |
Understanding these setups is genuinely valuable whether you’re planning a DIY session or deciding what to expect from a professional photographer. If you want to go deeper, these guides on how to take portraits like a pro and portrait shooting techniques offer excellent technical grounding. For a broader look at the craft, the people portrait photography guide is worth bookmarking.
Pro Tip: If you’re doing an outdoor natural light session, schedule it within the first hour after sunrise or the last hour before sunset. The light is softer, warmer, and more flattering during these windows. Midday light is almost always unflattering for portraits.
Cropping, posing, and LinkedIn display rules
You can have perfect lighting and still undermine your headshot with poor cropping or awkward posing. These are fixable, tactical problems once you know what to look for.
Let’s start with LinkedIn’s specific requirements. The platform displays profile photos in a circle. That means anything in the corners of your image gets cut off. Your face should fill 60 to 75% of the frame, centred, with your eyes sitting near the upper third. This keeps your face clearly visible even when the photo is displayed at small sizes (like in search results and message threads).
For posing, here’s what actually works:
Turn your body slightly at a 30 to 45 degree angle to the camera rather than facing it straight on. This slims the frame and feels more natural.
Lean slightly forward from the waist. It’s subtle but creates engagement and presence in the image.
Relax your shoulders. Tension in the shoulders reads as stress in the photo. Take a breath before each shot.
Drop your chin slightly and extend it forward just a little. This sharpens the jawline and prevents the camera-from-below look that most people dislike.
Make genuine eye contact with the lens. Looking just past the camera, or slightly downward, breaks the connection. Looking directly into the lens creates the impression of direct eye contact with whoever is viewing your profile.
Common mistakes that professionals don’t realise they’re making include tilting the head too far, smiling too hard (which squints the eyes), or holding tension in the jaw. A good photographer will guide you through all of this in real time. Knowing how to prepare for your headshot session ahead of time helps you walk in relaxed and ready.
Pro Tip: Before your session, spend five minutes looking at LinkedIn profiles in your industry. Notice which headshots immediately feel trustworthy and compelling. That visual research sharpens your sense of what you’re aiming for before you ever step in front of a camera. More practical session advice lives in this guide to taking headshots that look professional.
Ultimately, the best headshots feel effortless. The lighting looks natural, the crop feels right, the expression feels genuine. That effortlessness is the result of a lot of deliberate choices made before and during the session.
Why headshot quality is undervalued: our take
Here’s something that doesn’t get said enough. Most professionals know their headshot is outdated. They look at it, cringe slightly, and then do nothing about it for another two years. Why? Because it feels optional. It feels like a cosmetic fix rather than a strategic one.
That thinking costs people real opportunities.
I’ve photographed professionals across Calgary who walk into a session thinking their current headshot is “fine.” Within minutes of seeing the difference between their old photo and what we’re capturing in session, the shift in their energy is immediate. It’s not about vanity. It’s about alignment. Your headshot should match where you are now, not where you were three years ago.
The ROI of a quality headshot is genuinely underestimated. When your profile receives 20 times more views because of a better photo, those aren’t vanity metrics. Those are real humans landing on your profile who might otherwise have scrolled past. If even one of those turns into a client, a job offer, or a meaningful partnership, the investment has paid for itself many times over.
There’s also a consistency argument that matters a lot for teams. When a company’s website shows ten employees with ten wildly different photo styles (some casual, some formal, some obviously from different decades), it signals a lack of cohesion. Studio-level consistency across a team communicates organisational pride and professionalism. It’s a detail that clients and partners notice.
The signs that you need new headshots are usually obvious once you look. And the best headshot advice consistently points back to the same truth: professional, well-lit, well-composed photography is not a luxury. It is a professional baseline in 2026.
DIY shortcuts are tempting. A good smartphone camera, a bright wall, a willing colleague. The results can sometimes be acceptable. But “acceptable” and “exceptional” are very different standards, and your profile photo is not the place to aim for acceptable.
Upgrade your headshot in Calgary
If this article has you looking critically at your current profile photo (and maybe feeling that familiar cringe), that’s actually a great sign. It means you already know there’s a better version possible.
[
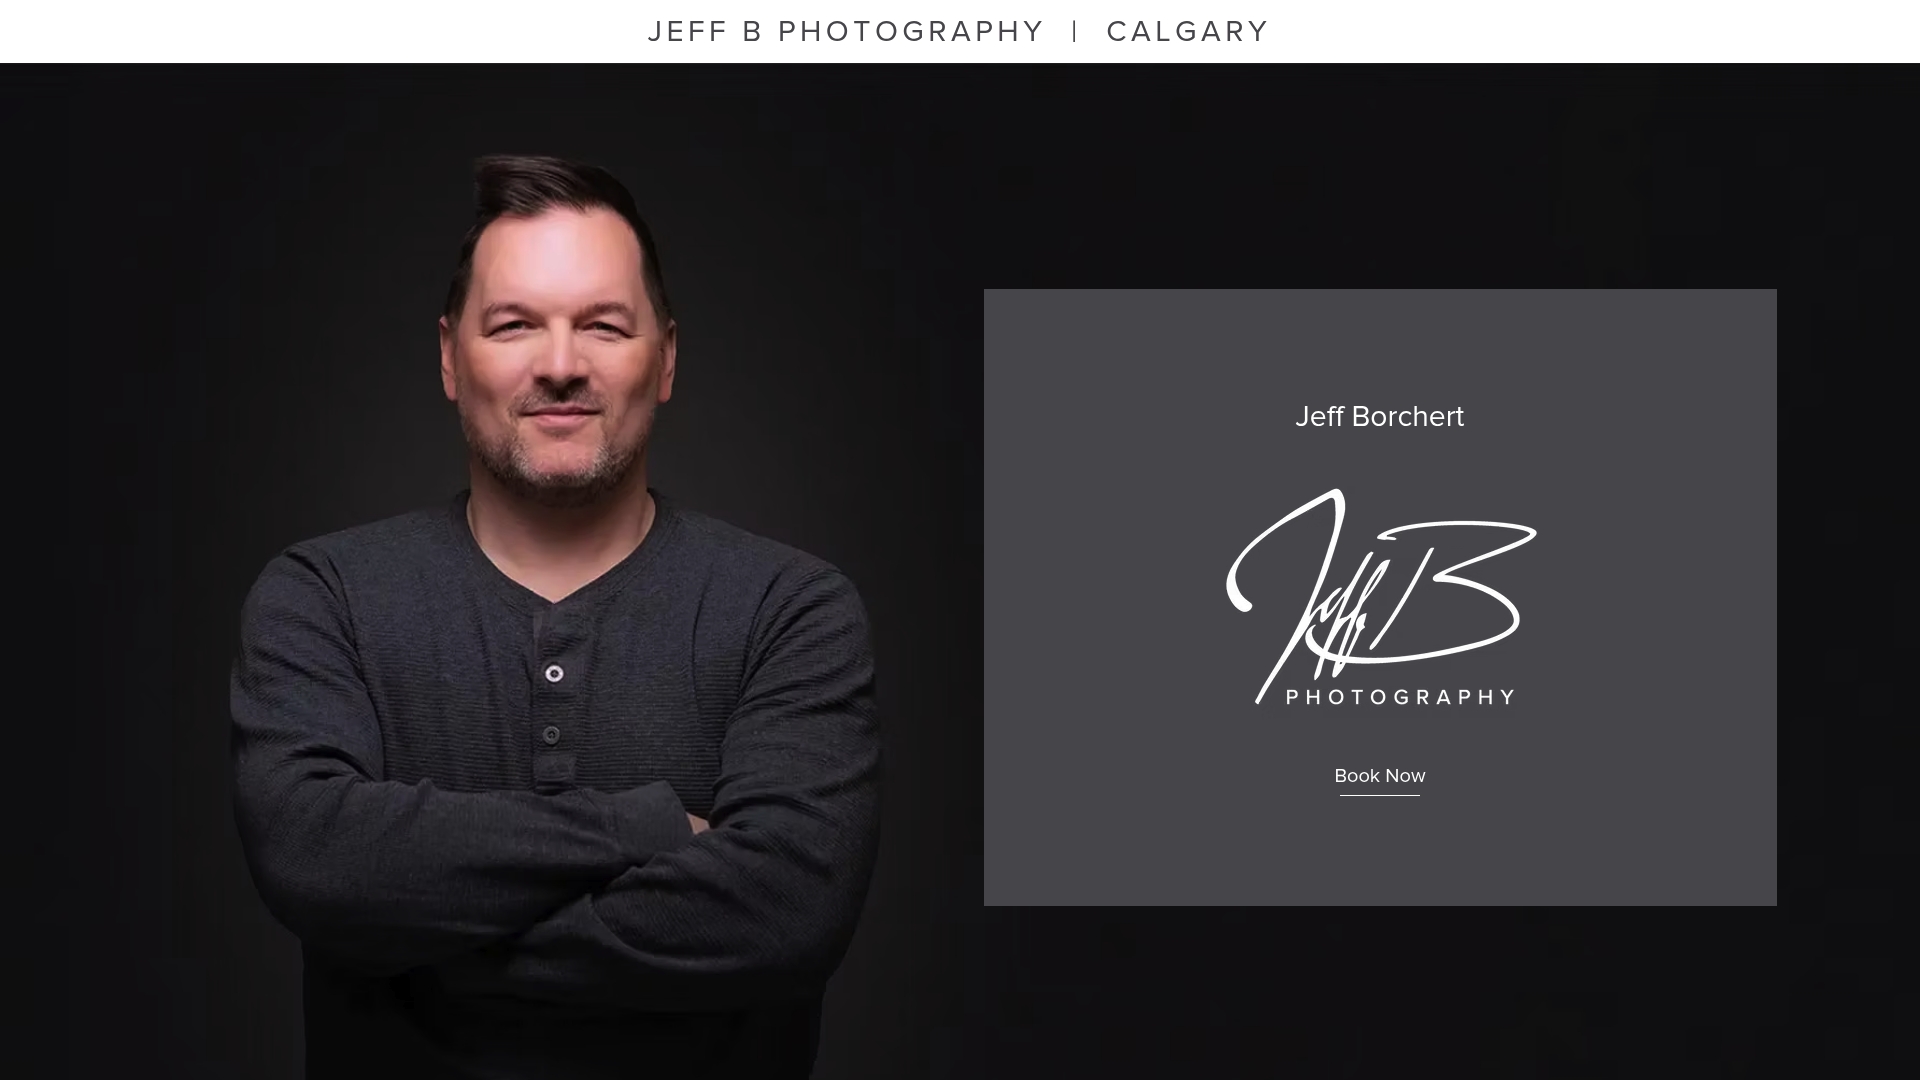
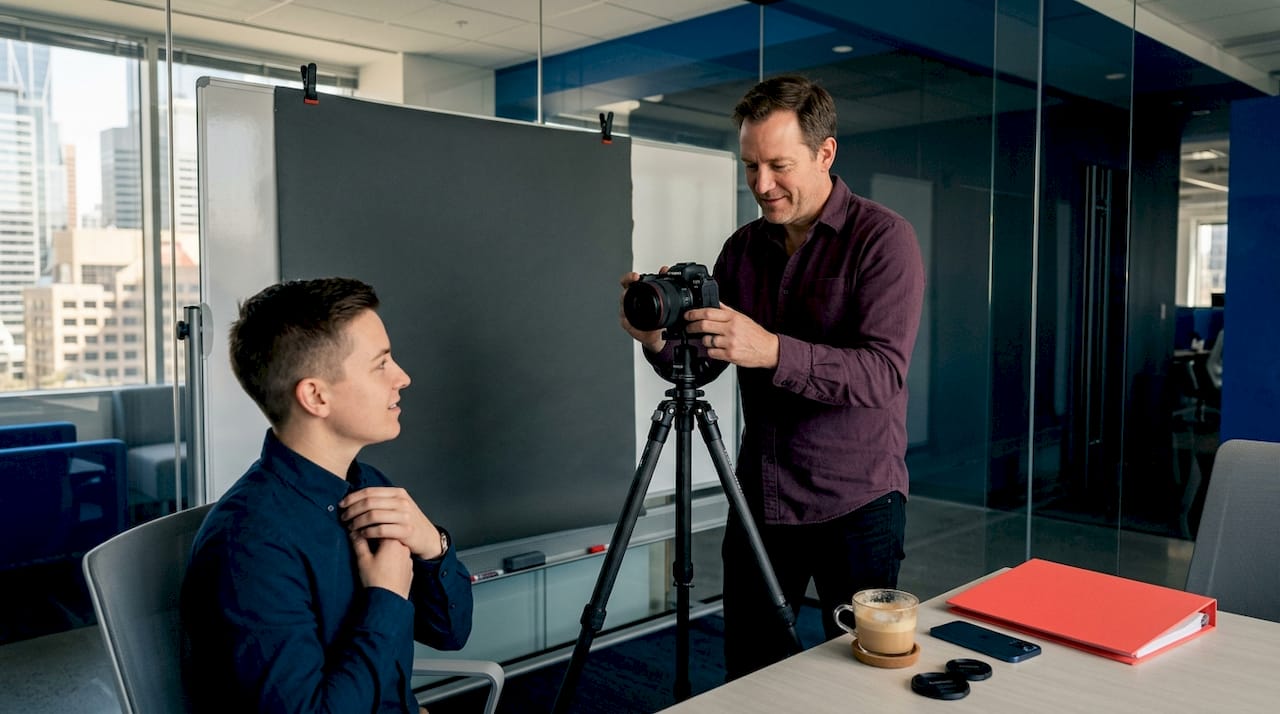
Working with a professional photographer takes the guesswork out of all of it. The lighting, the posing guidance, the cropping decisions, the consistent results, it’s all handled. You show up, we do the work together, and you walk away with images you’re genuinely proud to use. Whether you’re a solo professional refreshing your personal brand or a company looking to update your entire team’s imagery, Calgary’s best headshots are closer than you think. Let’s create something that actually works for you. Reach out and start the conversation at Jeff B Photography.
Frequently asked questions
How often should I update my professional headshot?
You should update your headshot every 2 to 3 years, or sooner if your appearance, role, or industry positioning has changed noticeably.
What clothing works best for a corporate headshot?
Neutral, solid colours without busy patterns create a timeless and polished look. Avoid logos, loud prints, and anything you wouldn’t wear to an important client meeting.
Should I use natural or studio lighting for my headshot?
Studio lighting provides the most consistent, repeatable results, while natural light from a window can work well for DIY setups with careful positioning and timing.
How should my face be positioned for LinkedIn profile pictures?
Your face should fill 60 to 75% of the frame in a head-and-shoulders crop, with eyes near the upper third and the image centred to suit LinkedIn’s circular display.
Does a professional headshot really increase LinkedIn engagement?
Absolutely. Profiles with professional headshots receive up to 21 times more views and 36 times more messages than those without a quality photo.
Recommended
Comments